(After receiving the "Unable to activate EMV device" error message):
The EMV Transactions screen is reached from the EMV Stations configuration screen:
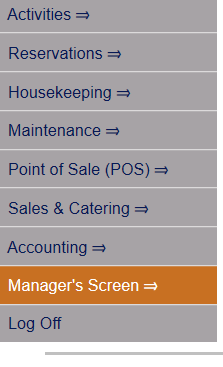
From the quick menu (left) choose Manager's Screen to be taken to the Manager's Commands screen.
OR
The Full menu has four sections, Registration, Status, Cashier and Other.
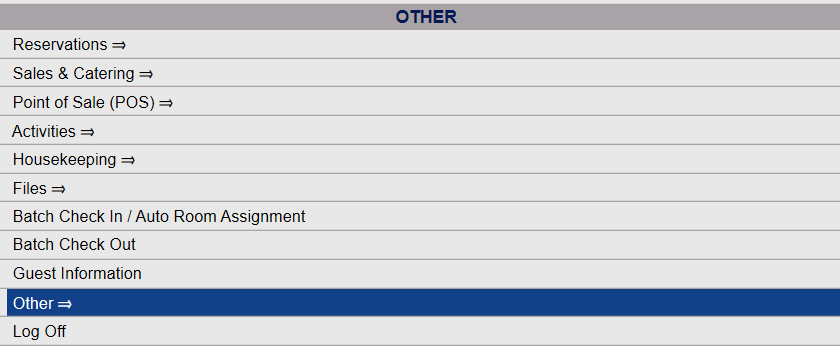
From the Full Menu Other section (bottom right) select Other =>
This will display the Other Front Desk Tasks Menu, which is divided into four sections: Other List 1, Other List 2, Documents and Web.
Select the Manager's Screen => command in the Other List 2 to open the Manager's Commandsscreen.
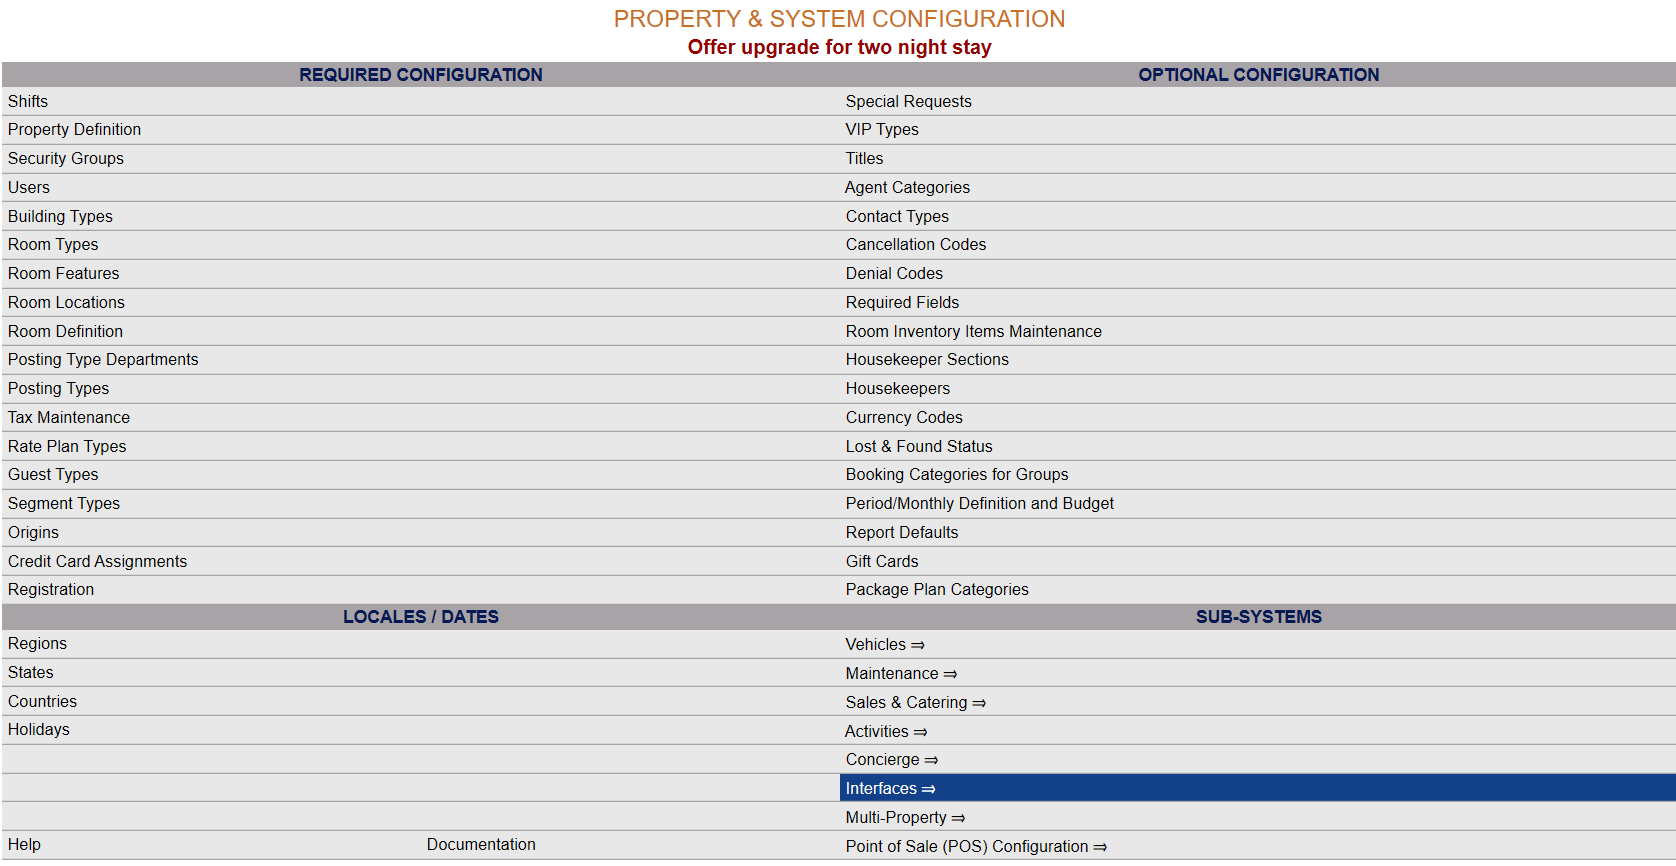
Select Configuration => from the Manager's Command Menu, to be taken to the PROPERTY AND SYSTEM CONFIGURATION screen.
Note: Alternately, you may also be able to select Configuration directly from the Quick Menu, if the menu has been set up to include the Configuration option.
Select Interfaces from the Sub-Systems area of the Property and System Configuration screen.
This will take you to the INTERFACES MAINTENANCE menu screen.
This is the Interface maintenance area, and each entry can be selected for viewing or further configuration. Interfaces area commands are divided into four sections:
Channel Interfaces, Texting Interface, Other Interfaces and Other Interface.
Select PinPad (EMV) Stations from the Other Interfaces section of the Interfaces Maintenance menu.
When selected, the EMV Stations screen will open.
The PinPad (EMV) Stations screen display is split into two frames, with the left side of the screen listing any already configured PinPad (EMV) Stations for the property and the right side containing the fields you need to complete in order to add or edit a PinPad (EMV) Station for the property. Also on the right you will see EMV Transactions - there is a field below the configuration options that will display any transactions performed using the particular Pin Pad (EMV) station, with details of that transaction (such as time sent, any error that occurred, if the transaction timed out etc). This table is display only.
Note: When the EMV Stations screen is first opened, by default the transactions displayed will be for the first device in the list order on the left. If no transactions have occurred with the device, the field will be empty.
Click on the relevant device from those listed on the left (the one which displayed the error message) to open the EMV Transaction screen for the particular pinpad/EMV device.
The list of transactions that have occurred using the selected device will be listed on the left, with the details of the selected transaction displayed on the right. By default the transaction displayed will be the first in the list order on the left.
Look at the list to check that the attempted transaction occurred. Every transaction attempt is recorded by its Sent Date/Time, with the most recent at the top. Click on the desired transaction entry to display the details on the right.
Note: IF there is NO transaction attempt record here, the issue is not with Skyware.
Successfully completed transaction attempts will have the word "No" in the Timed Out column, and ALSO have an entry in the Completed field, showing the Date/Time of completion, and the details section will have the picked up check box as well as the completed check box checked, and show the Date/Time the transaction was picked up and the Date/Time the transaction was completed.
IF the transaction instead timed out (meaning that Skyware and Shift 4 are not communicating), the Timed Out column will say "Yes" instead of "No", there will NOT be an entry in the Completed field on the left, and in the details section on the right, the Picked Up check box will not be checked, instead the Timed Out check box will be checked, and there will be no Date/Time entries.
Note: If instead of the Timed Out check box being checked, the error box is checked, there will also be an entry in the error field describing the error which occurred. Errors relate to Shift 4 directly, rather than the communication between Shift 4 and Skyware.
If the transaction is shown as having timed out, Skyware and Shift 4 are not communicating, meaning that the transaction request was not sent and the Skyware Local Stand Alone Service is not active and will need to be restarted.


.png)
.png)
1.png)
 failed.png)

